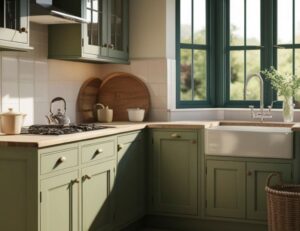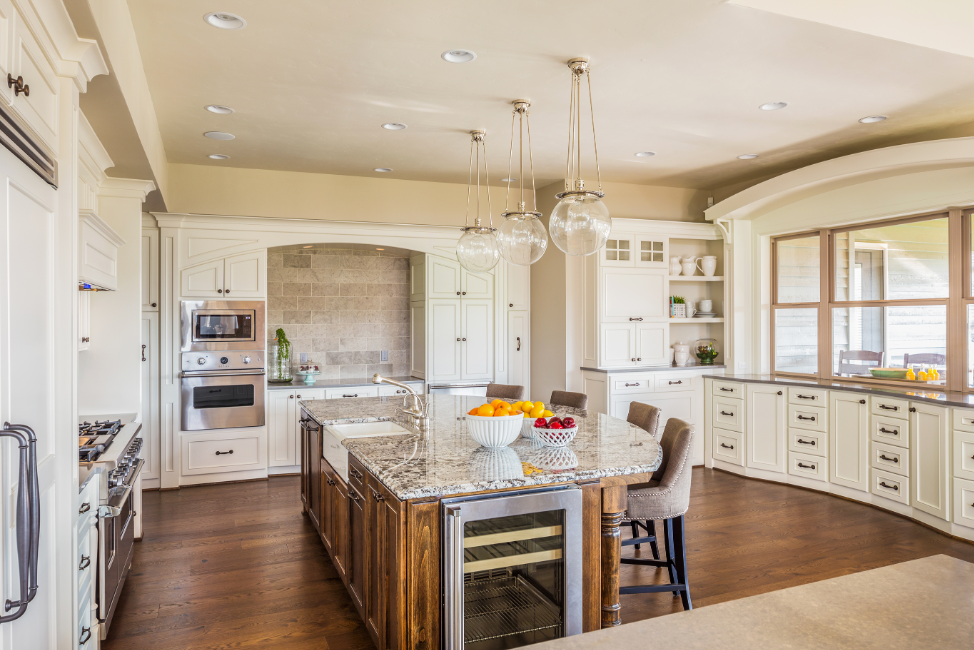
Investing in professional equipment for a once or twice in a lifetime project can be an expense that’s hard to justify. However, repainting your kitchen cabinet will save you a fortune when compared to purchasing a new set of cabinets. In this guide, we’re going to reconcile the two, and tell you how you can paint your kitchen cabinets in Elgin without using professional tools.
The Supplies You Will Need
First things first — you will need some supplies before you start the project. Most of them are very easy to find, and you have multiple options in terms of budget. For example, you can buy brushes and rollers, or you can go with a spray gun. All in all, you will need:
- Tack cloth
- Painter’s tape
- Sandpaper and/or an electric sander
- Foam roller
- Brush
- Paint
- Primer
- Wood filler
- Degreaser
Picking the Right Paint
This is where it all comes together. The paint plays a huge part in the final look of the cabinets, coming second only to the painting process itself. As such, it’s important to go with a top-notch paint brand. Don’t try to save money here, as you will be left with a lower quality result. In terms of brands, we’ve covered some of the best brands that you can use on our blog. A quality paint will make the project easier, will not leave brush strokes, will be easy to clean, and will have a durable finish.
The Elgin Kitchen Cabinet Painting Process
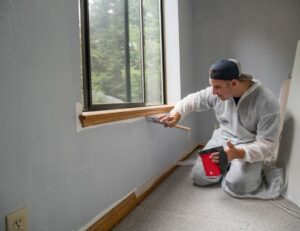
Start by gathering your supplies and clearing up a space for painting. This can be either an indoor or outdoor space, depending on the weather. Generally, the garage will work great here. You’ll then want to remove all the cabinet doors and extra hardware. Make sure that you label the doors and the hardware pieces in order to make it easier when it’s time to reattach them.
It is now time for the degreaser. The degreaser will clear any substances from the surface that will make sanding more difficult. If you want to remove and replace any hardware, you can use some filler to plug existing holes, then drill new ones. You’ll then want to address any imperfections in the cabinets. If your cabinets are fairly old, they may have cracks or other imperfections. To repair the cabinets, you can use the same filler, along with some caulk.
The next step is the sanding. It’s best to use an electric sander, as it will save you a lot of time and hard work. The idea is to remove the current layer of paint, and to rough up the wood so that the primer and paint can stick to it easily. Alternatively, you can use a deglosser, which will make the process a lot less messy.
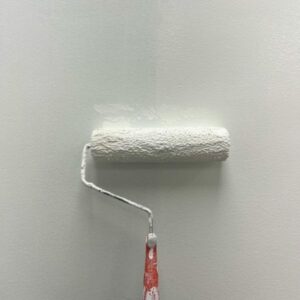
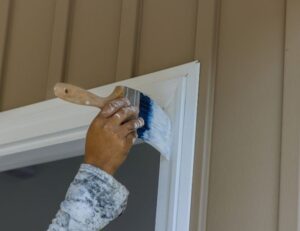
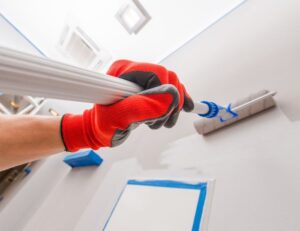
And now for the actual painting. Tape over any areas where spills may occur around your cabinets and doors, then start adding a layer of primer using either a brush or a foam roller. Let it dry, and sand away any drips or runs. Then, move on to the paint and start adding layers. You can add anywhere from one to three layers during your first run. Once the paint is dry, if you like how they look, your job is done. However, if you want the color to be more intense, you can sand the current layer of paint and add another coat of paint.
Hire an Elgin Kitchen Cabinet Painting Company
Painting kitchen cabinets yourself can be a lot of fun, but it can also mean a lot of work. If you think you need a helping hand with kitchen cabinet painting in Elgin, contact us today!