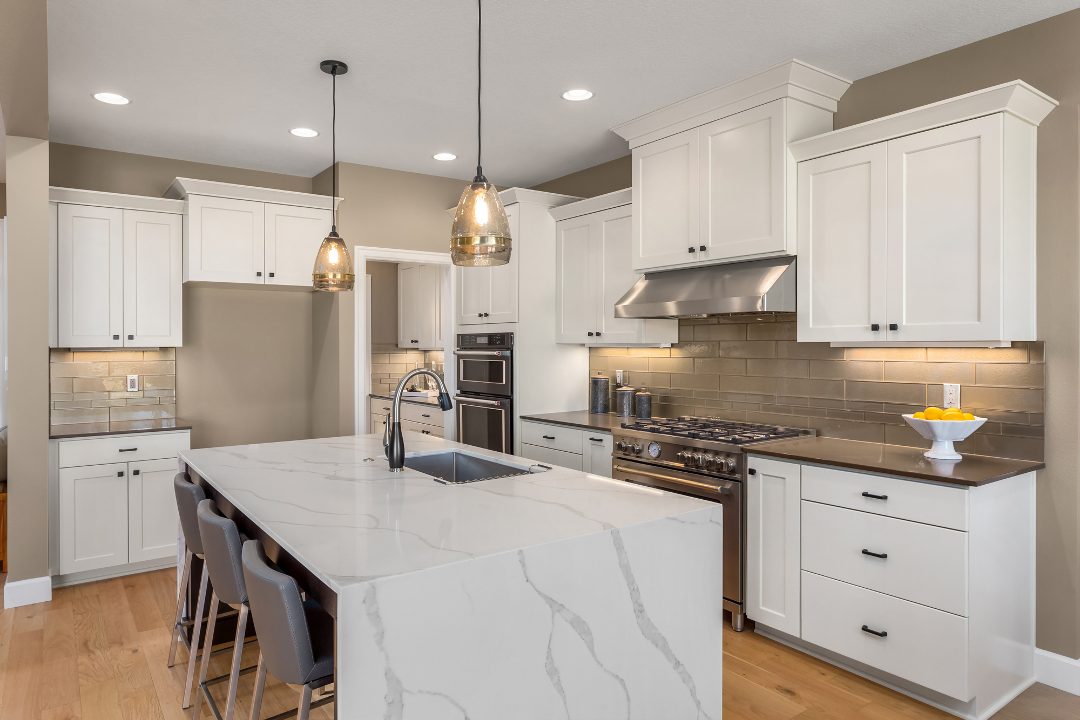
If you want to give your South Elgin kitchen a much-needed facelift without calling in a team of design professionals and taking on a budget-breaking project, a great place to begin is with your kitchen cabinets. Your kitchen cabinets are the single largest feature of your kitchen décor, and painting them can be one of the simplest ways to make your kitchen look like an entirely new space. The best thing about painting kitchen cabinets is that, if you have some experience in painting, you can do a high-quality job without ever consulting a professional. But if you want the best results with the most efficiency, we recommend hiring a professional. If you do decide to take the DIY route, here are some steps to follow:
Preparing to Paint
The proper way to begin painting your cabinets is to remove their doors, and if at all possible, take the cabinets off the walls. You’ll want to put all the cabinet hardware — the hinges, knobs or drawer pulls, and screws — in a safe place. We recommend using a separate, labelled baggie for the hardware from each cabinet to easily keep track of all the separate pieces.
Once you have removed the cabinet doors and/or the cabinets themselves, the next step is to take them to a well-ventilated area and place them on a drop cloth, tarp, or several layers of newspaper.
Sand Before Painting
If your kitchen cabinets have been finished with varnish or polyurethane, you will have to sand them down in order to create a surface for your new paint to adhere to. The same applies if they have been painted with oil-based paint, and you want to repaint them with acrylic paint. Use medium grade sandpaper to start, then finish them with fine sandpaper. Use a tacky cloth in between each sanding session to remove the old finish, and do not sand without using safety glasses and a face mask.
You will be able to start painting your kitchen cabinets when the old varnish or paint is removed. The amount of paint you need will likely depend on the sort of finish you want. A matte finish will require less paint than semi-gloss or high gloss paint.
One tip for painting your cabinets is to follow the direction of the wood grain when you are applying your paint. Otherwise, your brush strokes will be much more noticeable.
Drying and Reassembling
Let your kitchen cabinet doors dry between coats in a ventilated and dust-free area, and make sure you keep them away from the sun so that their color remains unaffected. While they are drying, you can return to the kitchen and begin working on the cabinet exteriors and frames. Just remember to keep the kitchen doors and windows open for ventilation.
When all of your kitchen cabinet doors are dry, you can reattach the doors with the hinges and add the handles, drawer pulls, and knobs. If you want to finish the job with a completely different look, you can even install new hardware!
Professional Kitchen Cabinet Painting Service in South Elgin, Illinois
As we mentioned at the beginning of this blog, you can certainly paint your kitchen cabinets on your own. However, taking a DIY approach to kitchen cabinet painting can take a long time, and if you are not very experienced, it could result in a subpar paint job. If you want professional results, it’s best to hire a professional cabinet painting company in South Elgin. You can avoid the hassle of DIY painting your kitchen cabinets by partnering with us!
To learn more about Prime Time’s kitchen cabinet painting services in South Elgin, to or request a free painting consultation, contact us today!

